Lesson 4
Overview
In this lesson, you’ll learn many new techniques & have many opportunities to play with adding texture, colours & shapes to your Playscape.
First, you’ll create a Mini Flower Garden & practice some embroidery stitches & a new cast off.
Next, you’ll knit up either an Evergreen Hedge or a Wooden Fence or maybe both! Use these to give your Playscape a sense of “space’. Children love to feel that their play environments are enclosed (one reason why they love building forts & playing under the dining room table).
Finally, saving the most elaborate project to last – the Vegetable Garden.
Filled with veggies & some berries too, the Vegetable Garden can be what you want it to be – lush & colourful, soft & spring like or an exact replica of your own garden.
Let’s begin!
Lesson 4.1
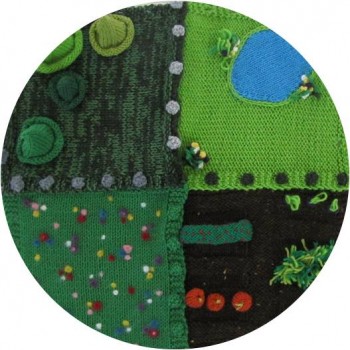
Designing Your
Mini Flower Garden.
.
This little project is jam-packed with NEW techniques ! It’s a great way to try them & see which ones appeal to you & which you’d like to save for later…
Often, many people give children a diagonal dishcloth as one of their first projects. The base of the Mini Flower Garden is that pattern but I’ve modified it a little by rounding one corner to make it look more like a small patch in a garden. If you’ve ever wondered how it’s done – here it is!
Watch the videos first, then make the base & decorate it. Before you start embellishing your base, take some time chose the colours & plants which you’d like to include. You can always add more, but it’s a bit harder to pick out something if you change your mind.
Finally, make the Small Stone Border. Do this project after you’ve finished your base because you need to measure your base to know how long to make your border! Think about making more borders for around a Playscape Square or along the sides of a path or bridge. .
To Start Designing your Bases –
- Use a blank page in your KnitNotes Ideabook or a plain sheet of paper
- Sketch out a small Mini Flower Garden shape (see picture)
- Get your yarn tags, crayons, paints or pencil crayons out
- Try a few colour/texture combos – in 2D & using yarn
- Combine yarns for new colours & textures
Mini Flower Garden Pattern
Lesson 4.2
.
Evergreen Hedge & Wooden Fence
.These two pieces will teach you some new stitches & get you thinking about working in 3-D. It can seem a bit difficult to knit something “in the round”. It took me years to get around to trying to knit things that could stand up because I had always assumed that it would be too hard.
Really, it’s quite simple once you begin!
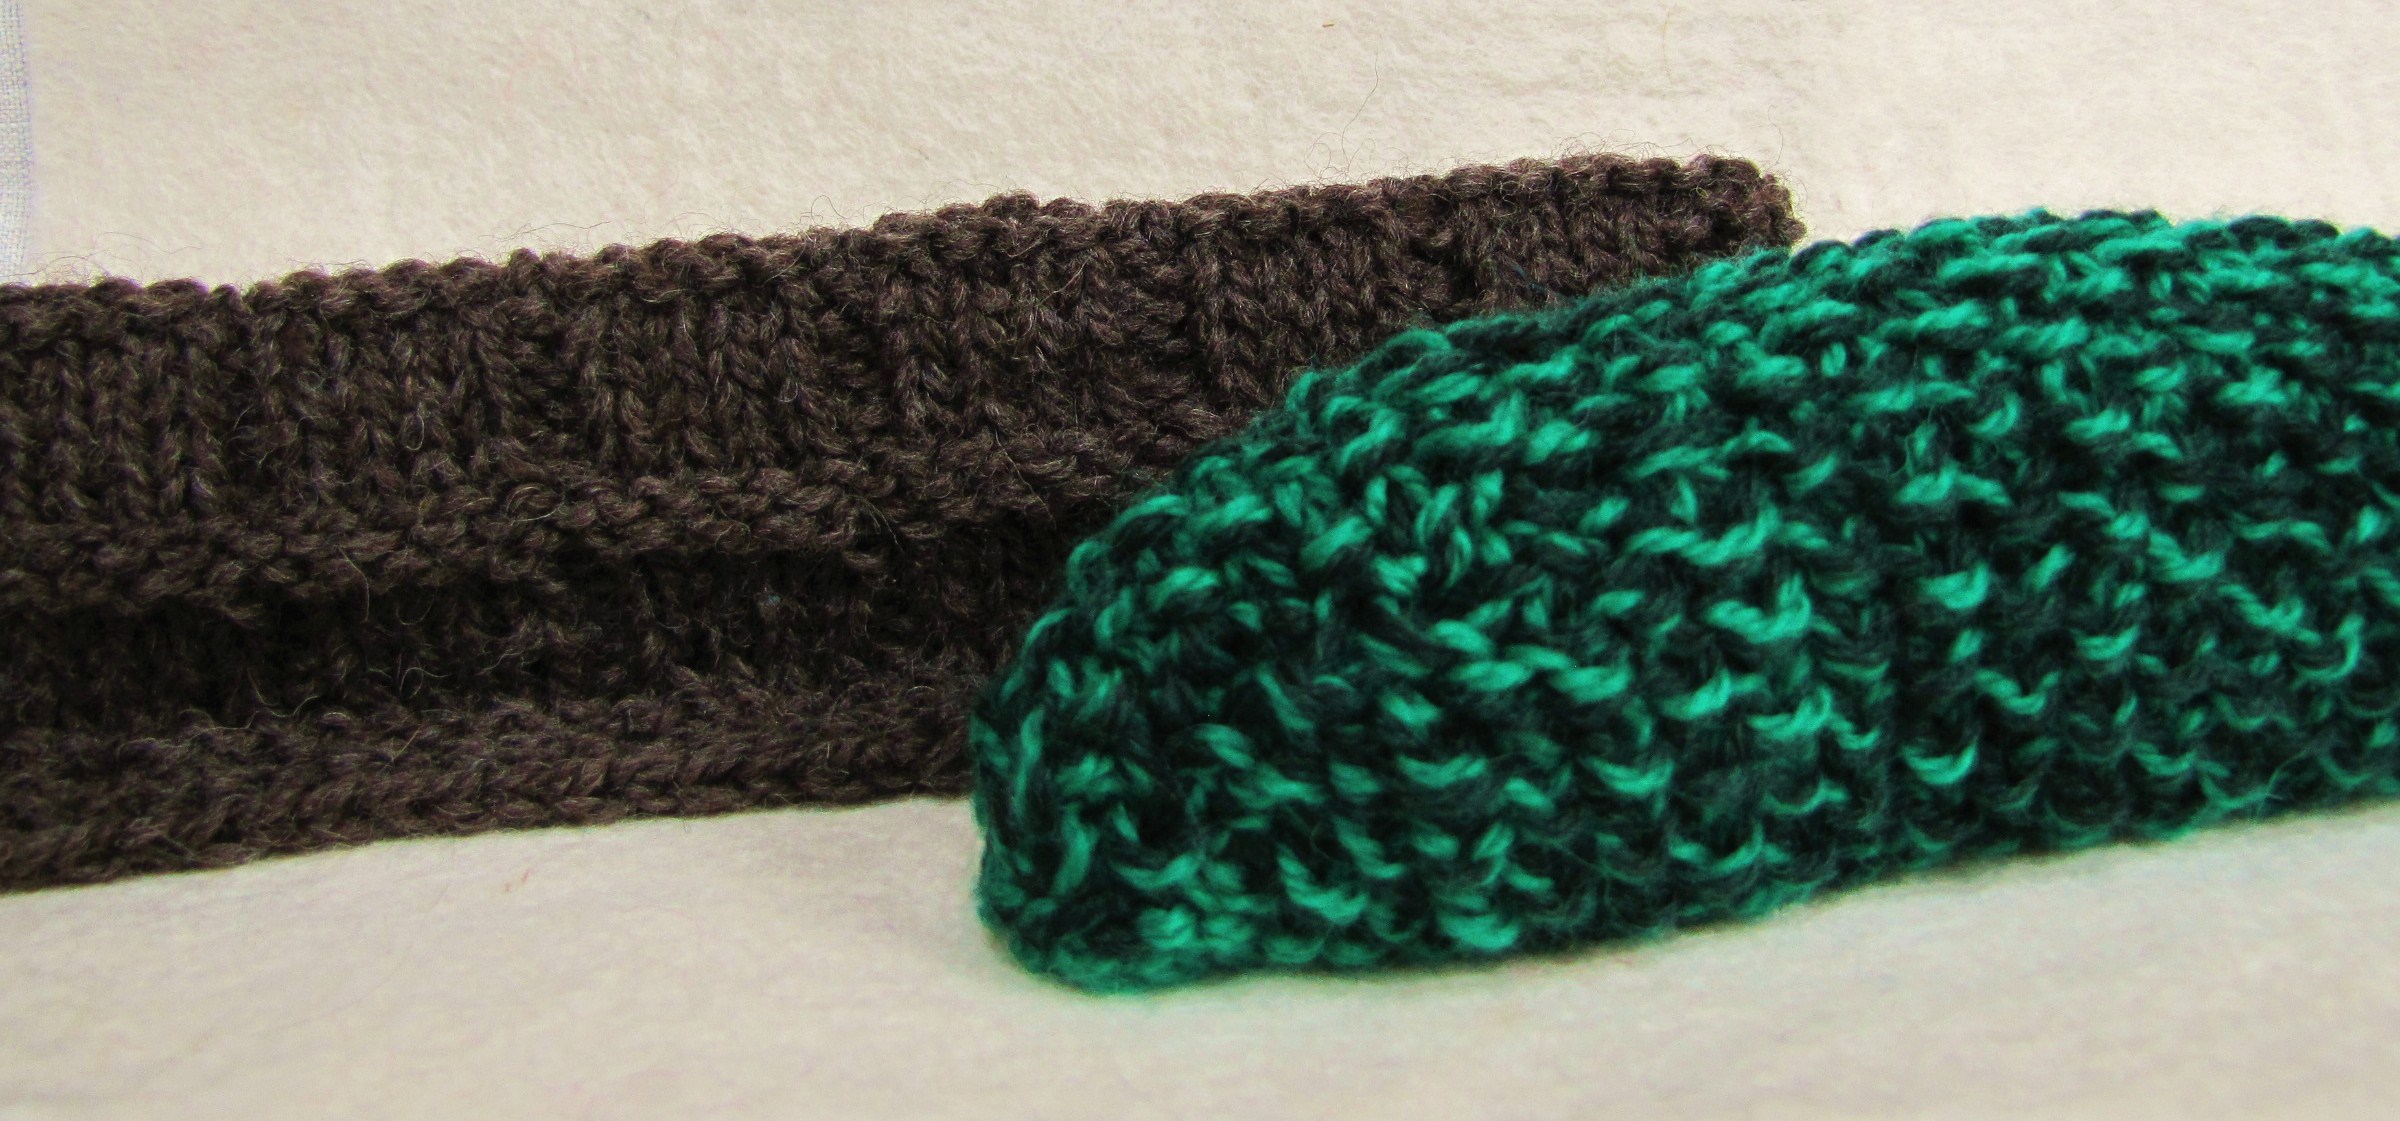
The Fence is very straightforward as it is really just a knit rectangle – the only challenging part about it is learning the new Tile stitch. I’ve written out the pattern line for line, so you’ll have it done in no time. You can consider other places where you might like to try this stitch – perhaps a doll quilt or a tiled patio?
The Hedge includes quite a number of elements but it will knit up quickly because I’ve written out every line of the pattern – just make sure you’ve got your stitch counter…
Evergreen Hedge Pattern
Wooden Fence Pattern
Lesson 4.3
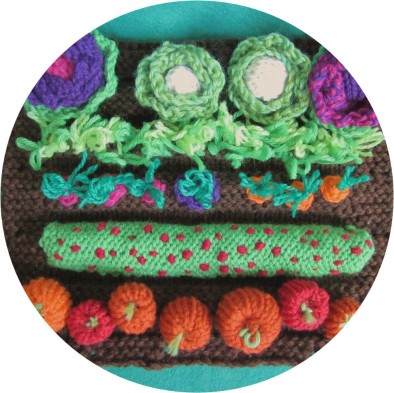
Your Vegetable Garden
..NN
Now, it’s time to begin on a project that incorporates many of the techniques which you’ve already learned as well as a few new ones!
Before you begin, print out the Vegetable Garden Planning Sheet (maybe a few times) & start thinking about what you’d like to include. I’ve demonstrated quite a few ways to add texture & make plants so you might like to follow some of what I’ve done but also add a few experiments of your own.
Making certain elements of the Vegetable Garden detachable will add further play value as your child will be able to gather pumpkins or cabbages & store them or cart them around in trucks etc. Perhaps, they have a mini- vegetable stall where they could sell produce to fairies or gnomes.
The pumpkins, cauliflower & strawberries are great projects for children because they are quick to make & fun to play with. Teaching them a new skill (such as decreasing or 2×2 Ribbing) is a lot easier if they only have to do it a few times in one project. A small project helps to avoid overwhelming them with a large project that might seem daunting.
In this section of Lesson 4, we’ll cover the following techniques:
- Knit Cast ON
- Cable Cast ON
- Stocking Stitch
- K2TOG Decrease
- KFB Increase
- 2×2 Ribbing
- Sewing pieces together
- Sewing in Tails
- Embroidery Stitches
. VISIT the Gallery to see close up pictures of the various vegetables & other projects from this lesson.