
Welcome !
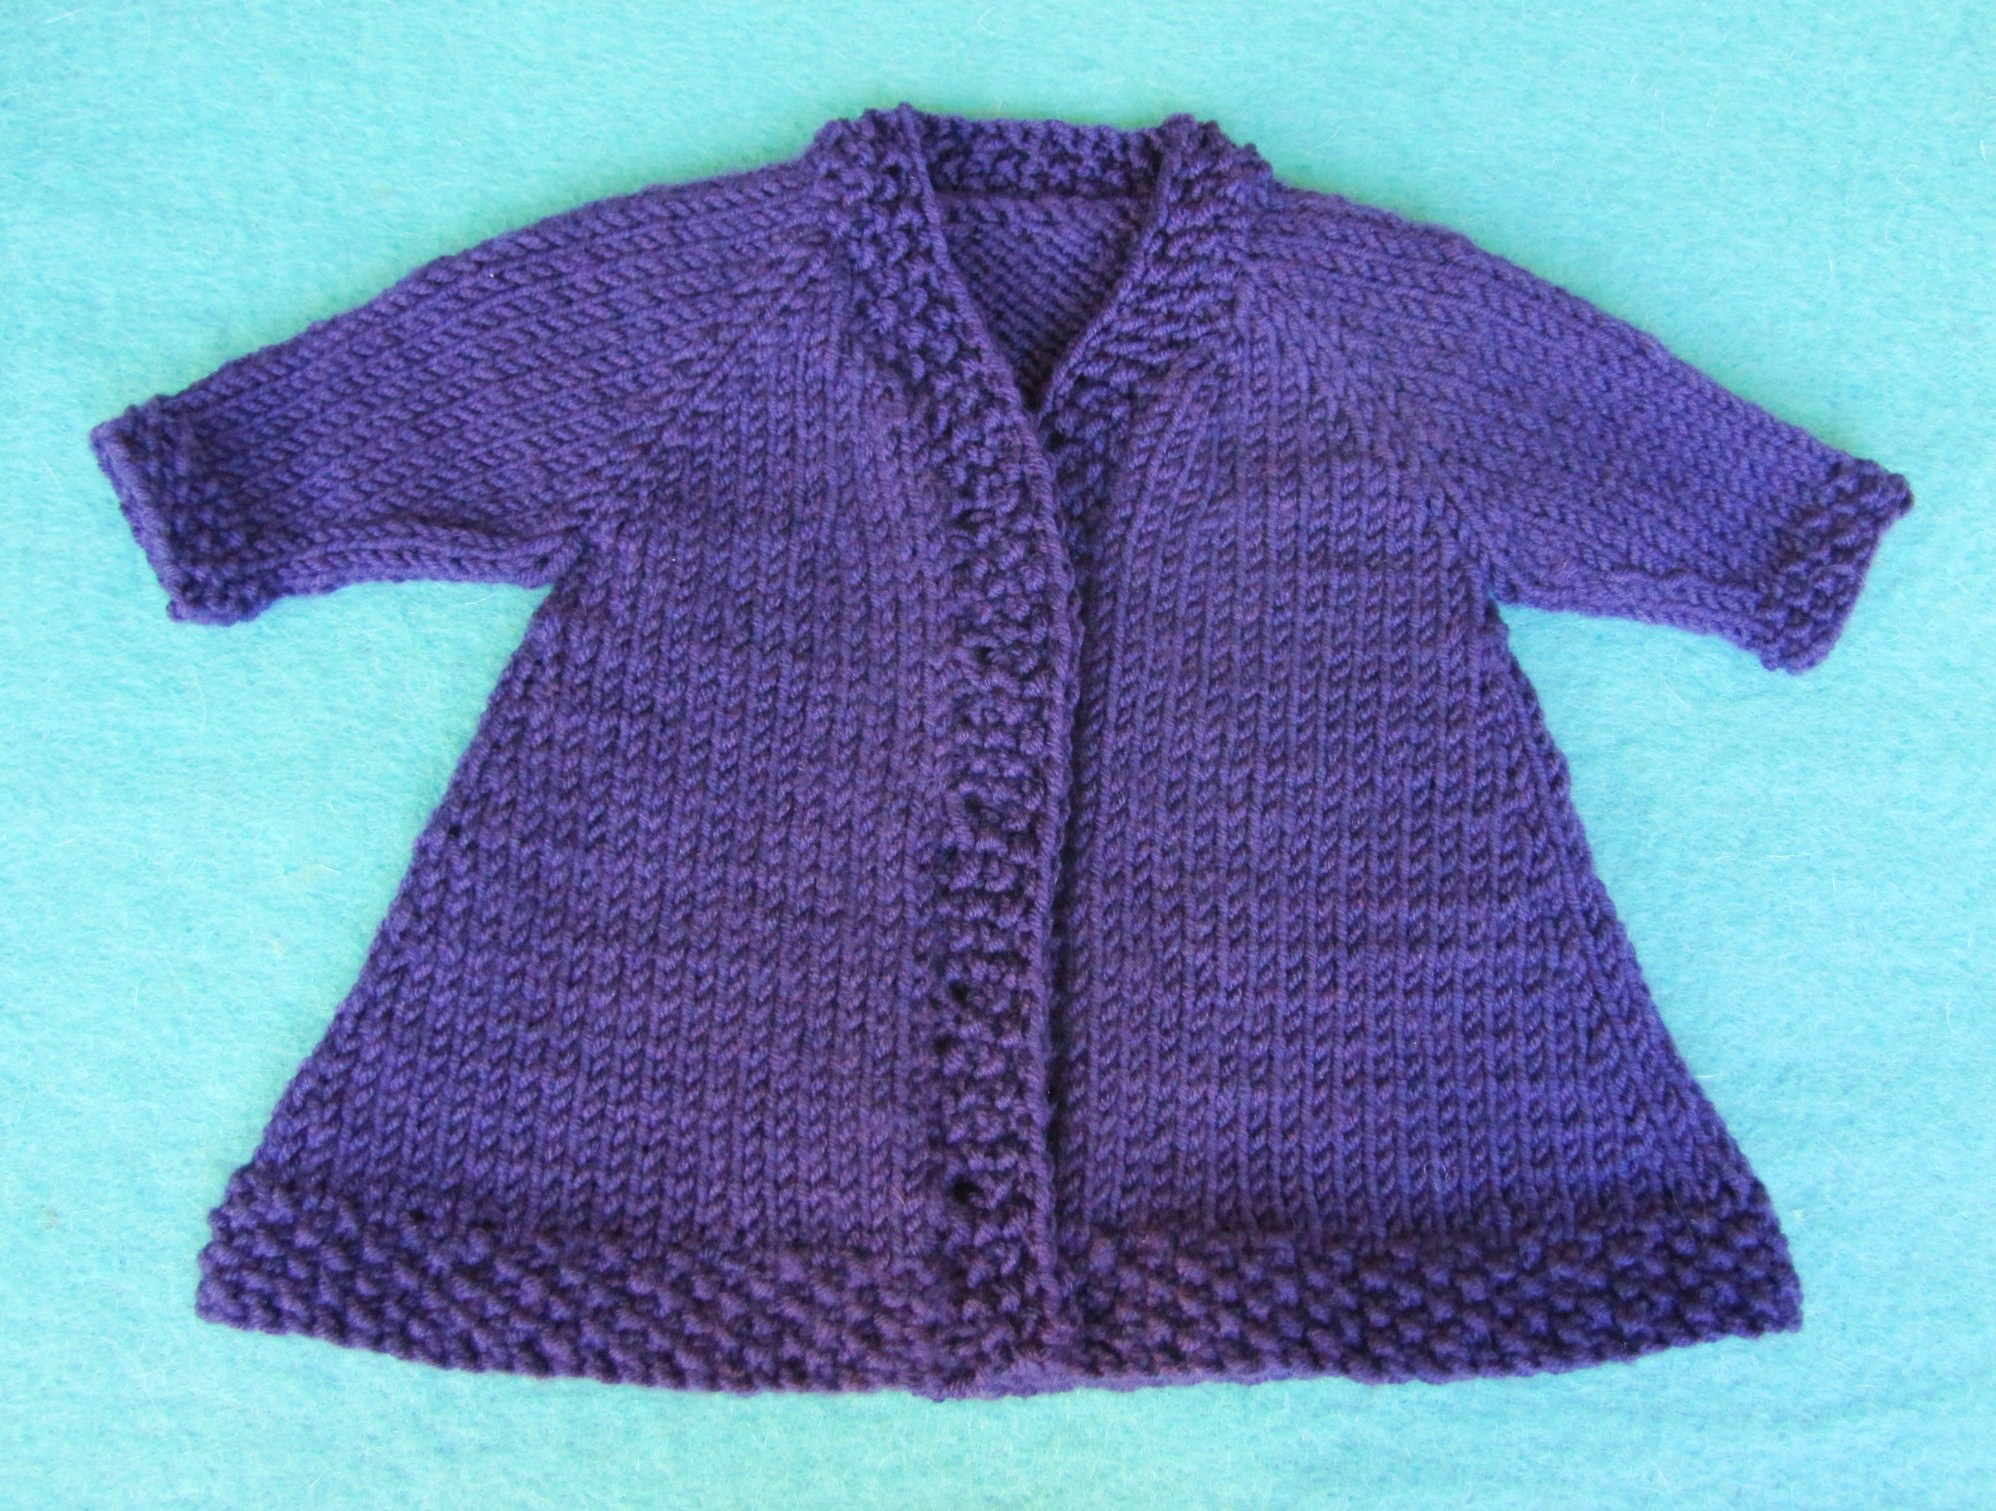
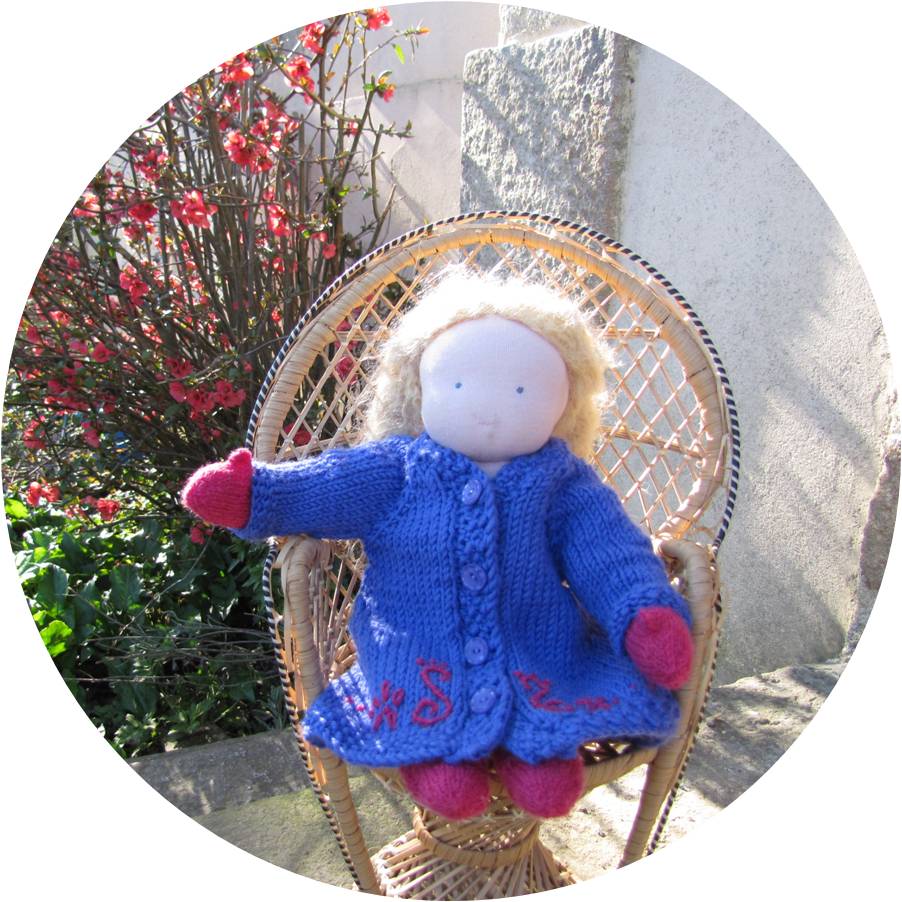
In these 7 lessons, you’ll learn how to knit & embellish a Doll Coat, from the top down in one piece.
Each lesson will include one section of the coat pattern, the entire pattern will be included in the last lesson as a
downloadable PDF.
There are demonstration videos for each technique & stitch. If you don’t understand something, please watch the video again, pausing & actually trying out the technique. Sometimes, it makes a LOT more sense when you actually do it!
If you still aren’t sure, just email me HERE & I’ll walk you through it.
Have fun & Happy Knitting!

PS. Please remember that this pattern & all videos on this site are copyrighted to Handwork Homeschool.
I would appreciate it if you did not distribute or sell this pattern or coats made from it. ‘Thanks !
.
Lesson 1 –
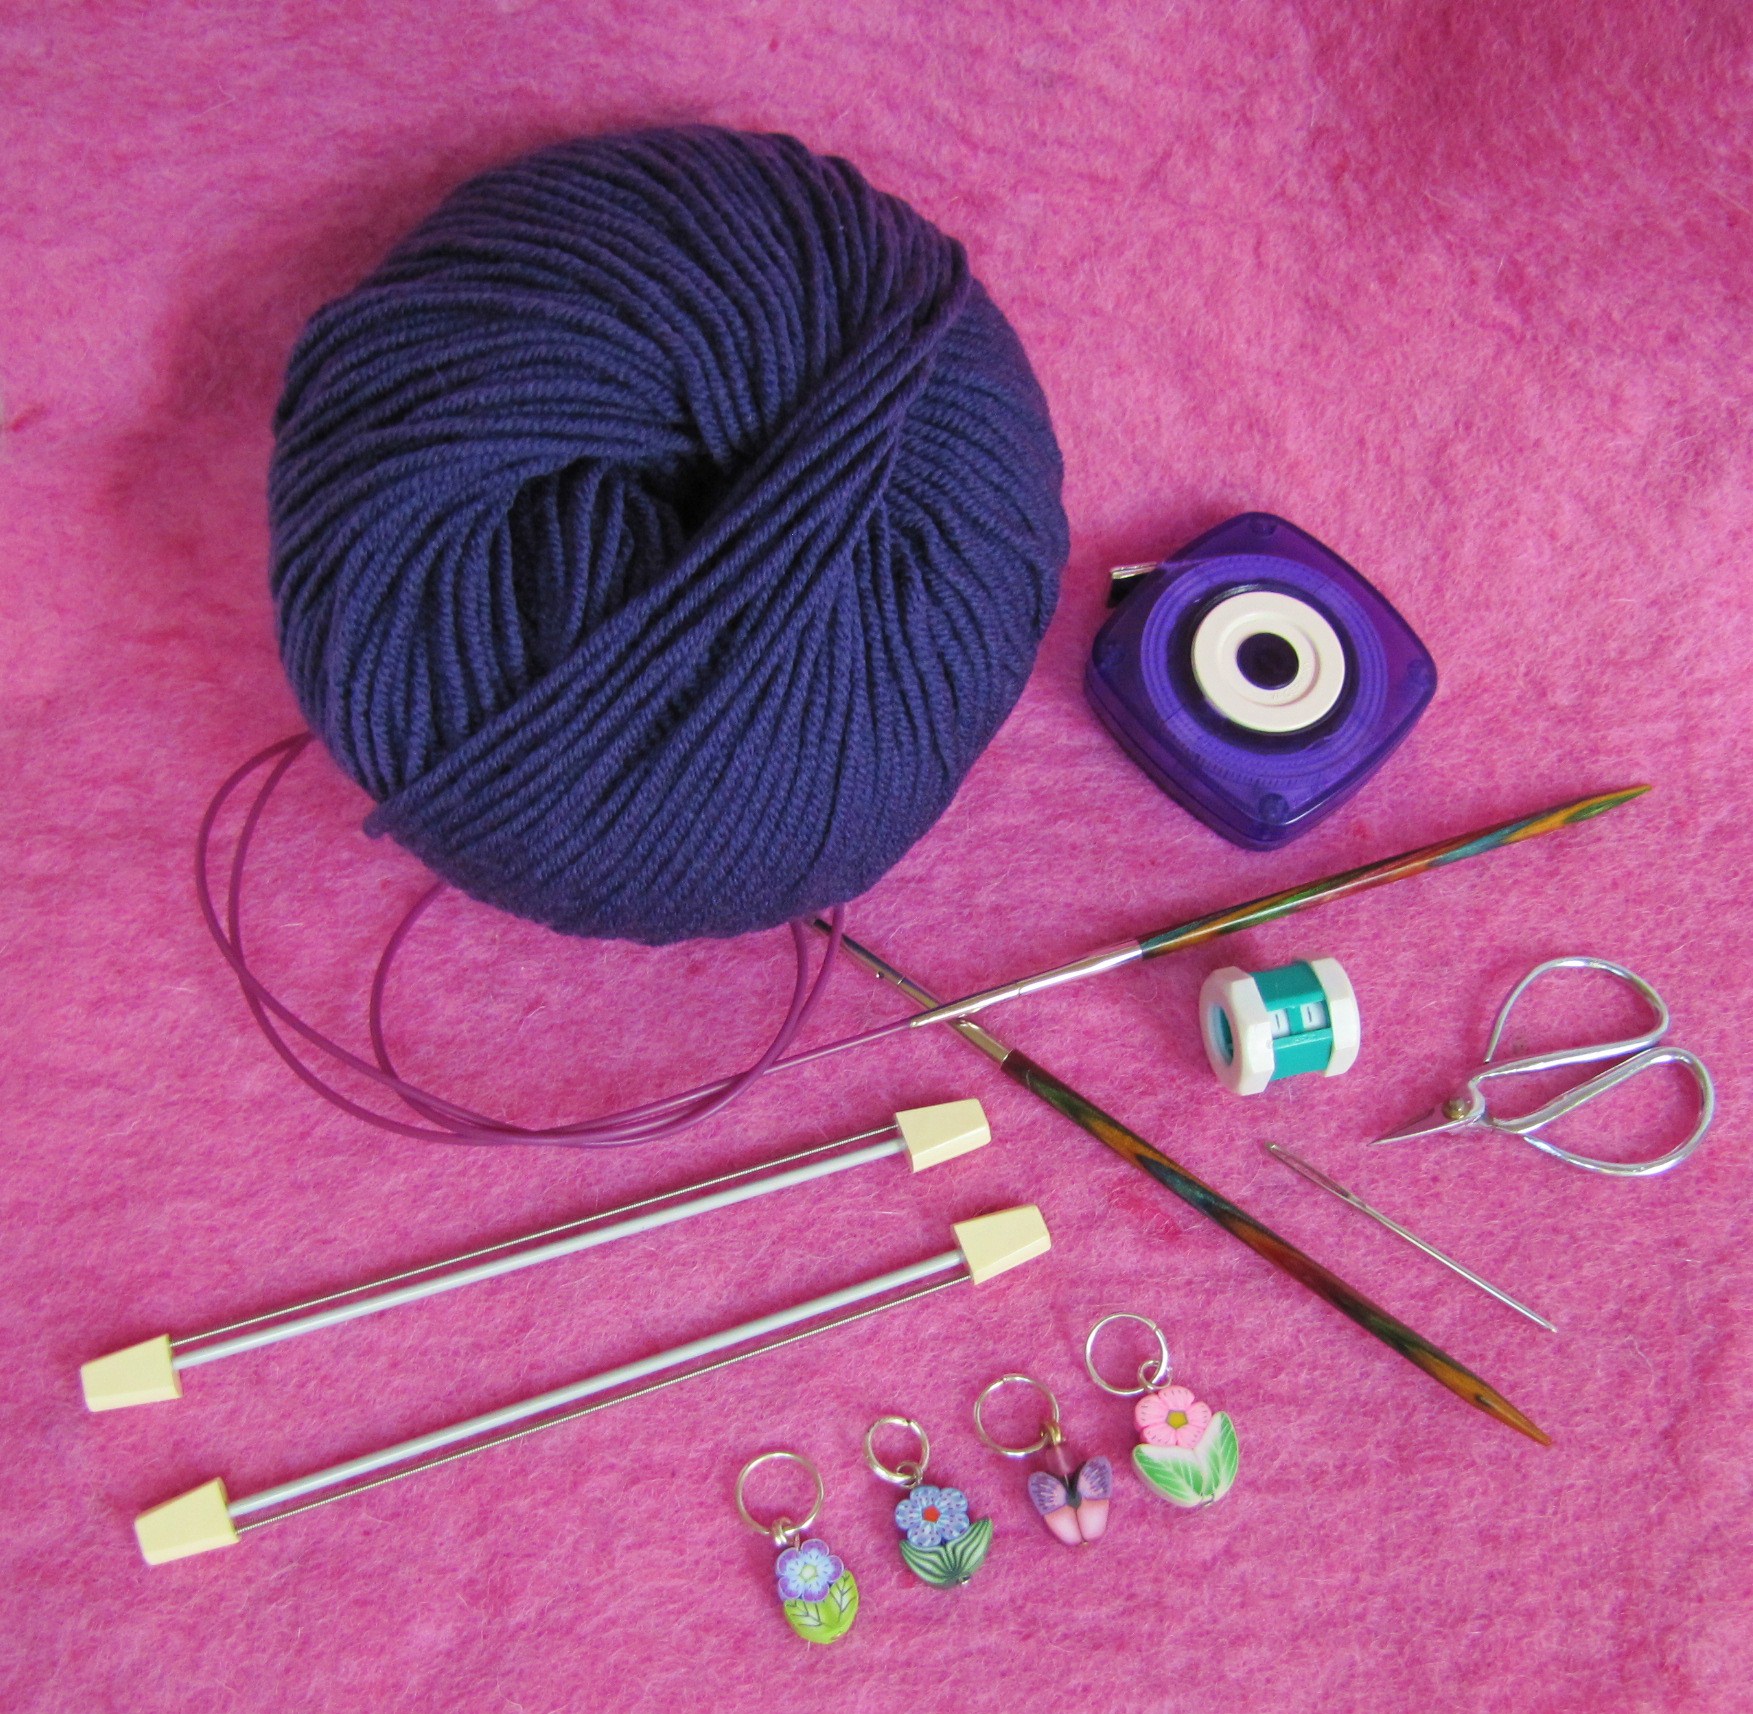
Gather
It is a good idea to gather all of your tools & materials together before you begin.
Keep them all in a nice knitting bag that you can grab whenever you have a moment to knit!
CLICK the image below to download a PDF Tools & Materials List
Lesson 2 –
Knitting a Gauge Swatch
The first step in any successful knitting project is taking the time to knit a gauge swatch.
It will take you only a few minutes but could save you hours!
WATCH this video to learn more…
Lesson 3 –
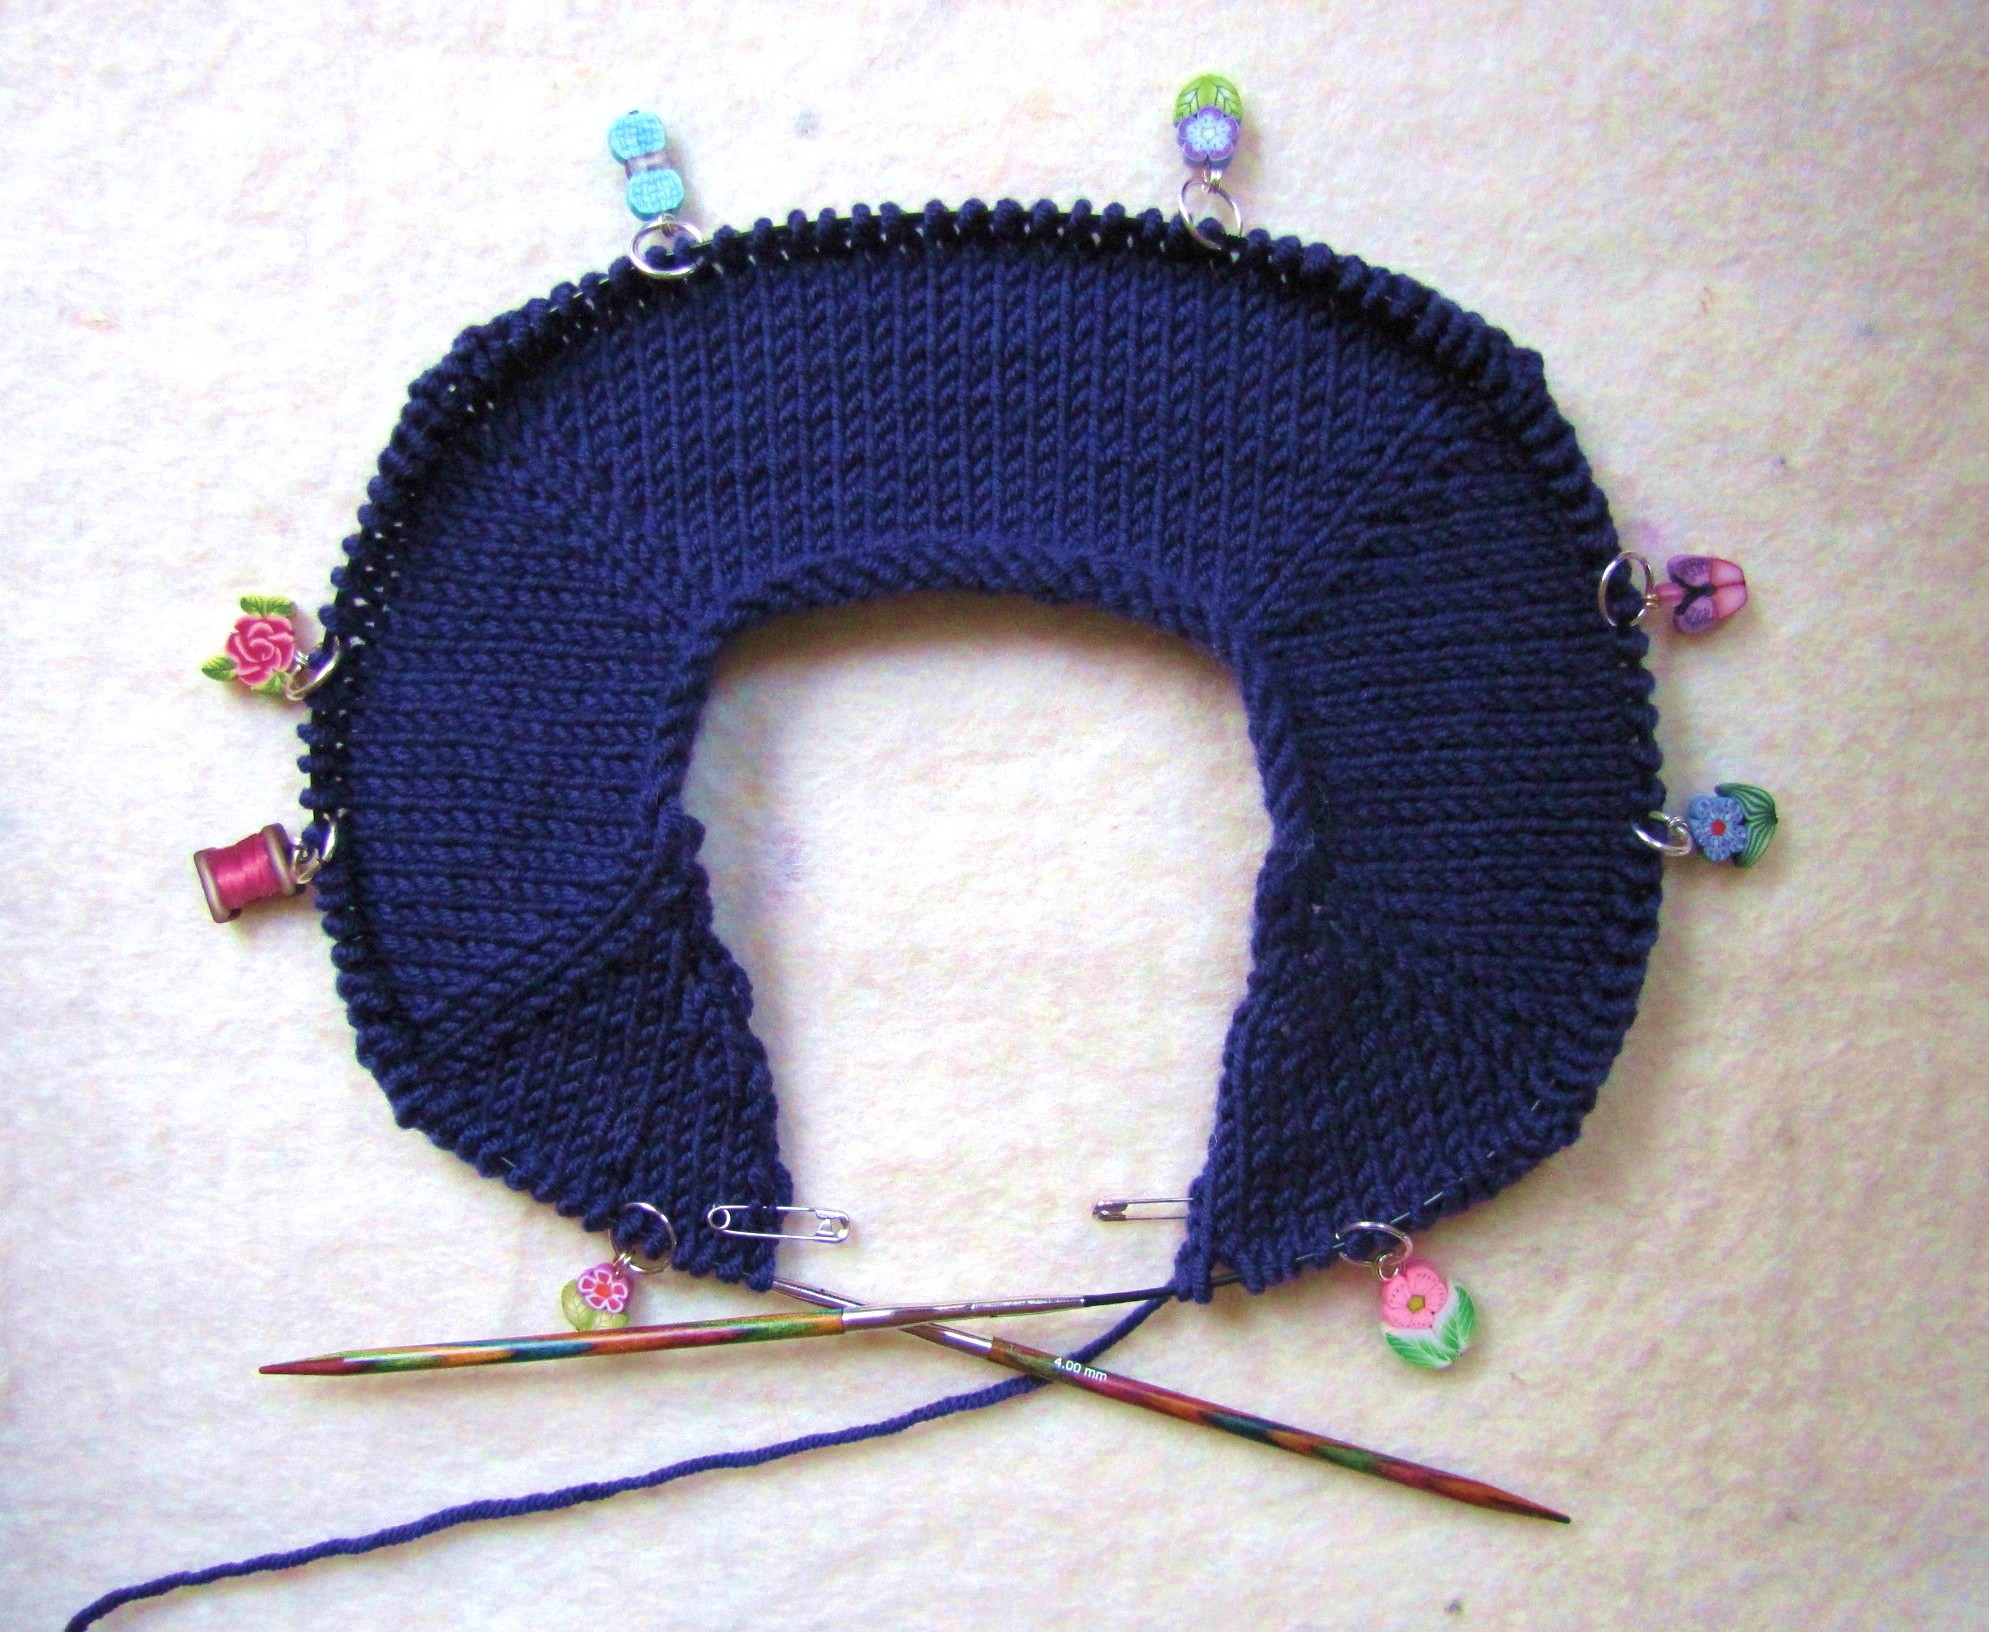
Upper Body
Now that you’ve got your gauge figured out, it’s time to Cast ON!
Before you do, WATCH this video, it will show you how to make the PAIRED Increases that
you’ll need for your DOLL Coat.
Doll Coat Pattern
Upper Body
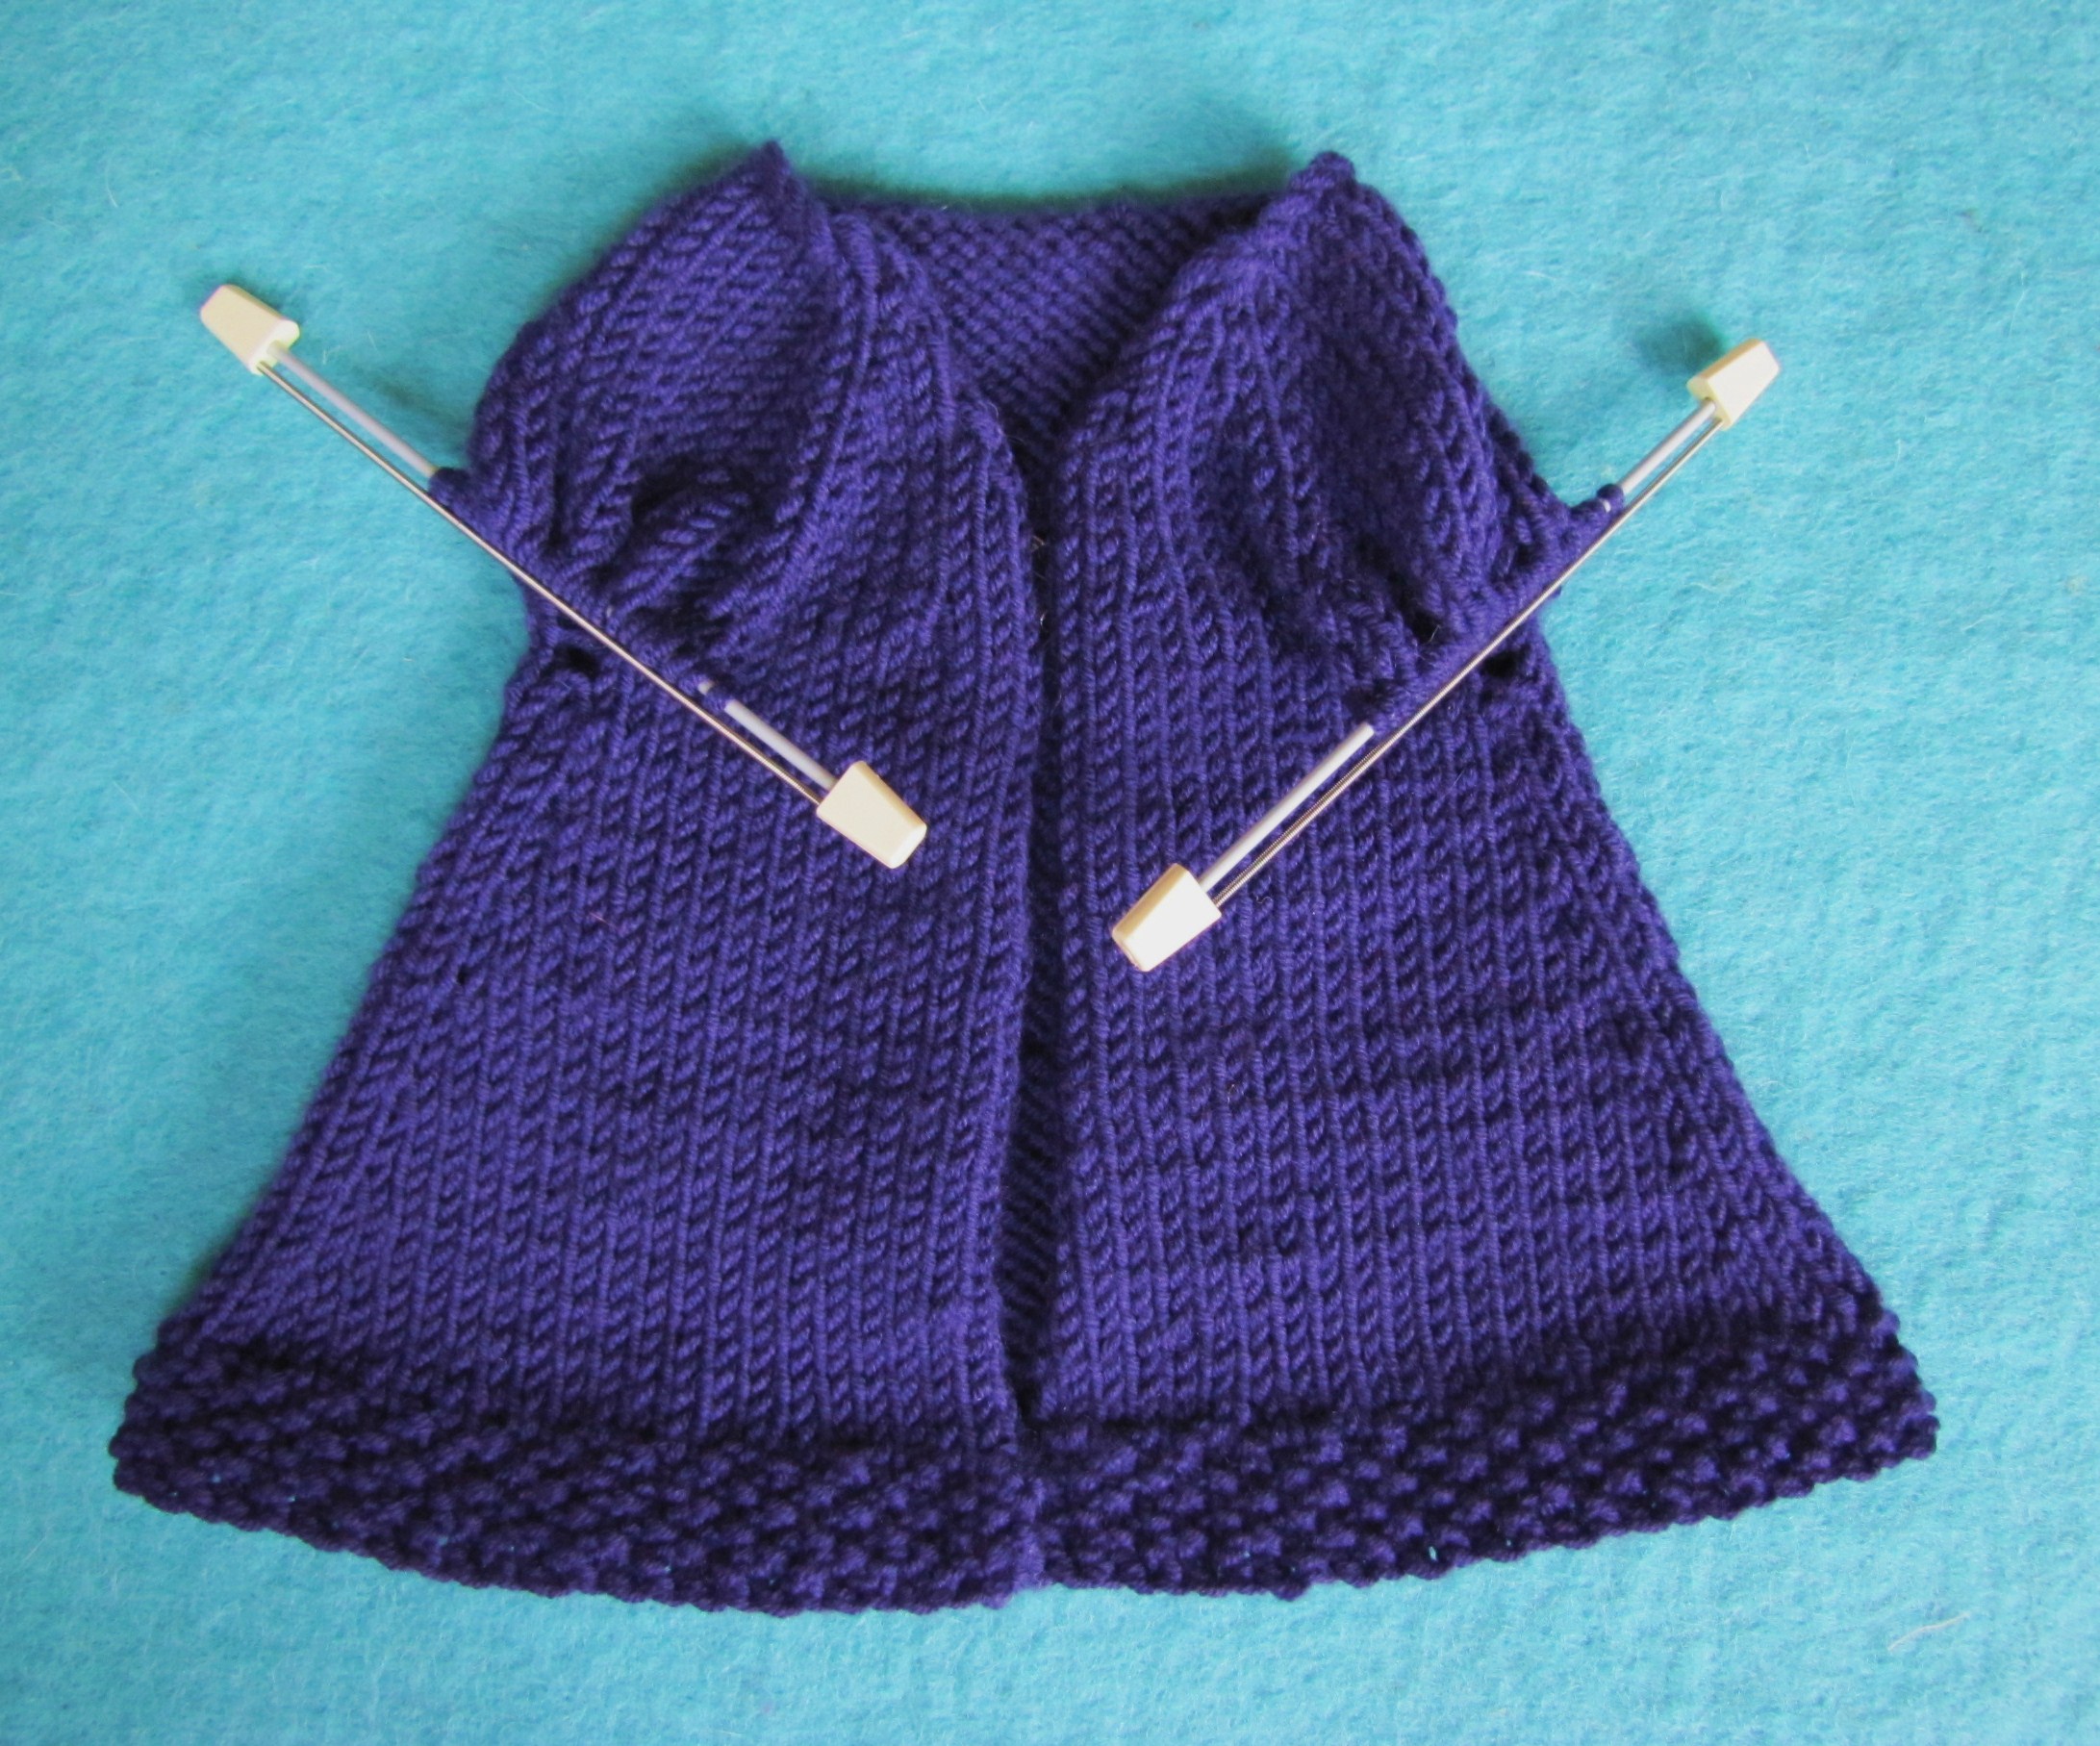
In this section, you’ll cast on, place markers & begin to knit in the stocking stitch.
You’ll continue until you reach the point where the sleeves will be divided from the
body. Stitches for the sleeves will be left on stitch holders until you come back to them
later after finishing the body.
CLICK the image below to download your first pattern !
.
Lesson 4 –
Lower Body
At this point, you are ready to continue from the underarm point down to the
bottom hem of your coat.
If you slip the first stitch of each row, it will be
much easier to pick up stitches for the fronts & around the neckline later on.
You will increase several stitches across the last row
before the Seed Stitch hem, this will keep it from
rolling up.
Watch the Doll Coat Body Video for details & tips
before you begin.
Doll Coat Pattern
Lower Body
CLICK the image below to download your next pattern !
.
Lesson 5 –
Sleeves
Time to finish your sleeves! You’ll be working down
towards the cuff using the Magic Loop technique.
Watch the Doll Coat Sleeves Video to learn this
new technique as well as some extra details & tips
before you begin.
Doll Coat Pattern
Sleeves
CLICK the image below to download your next pattern !
.
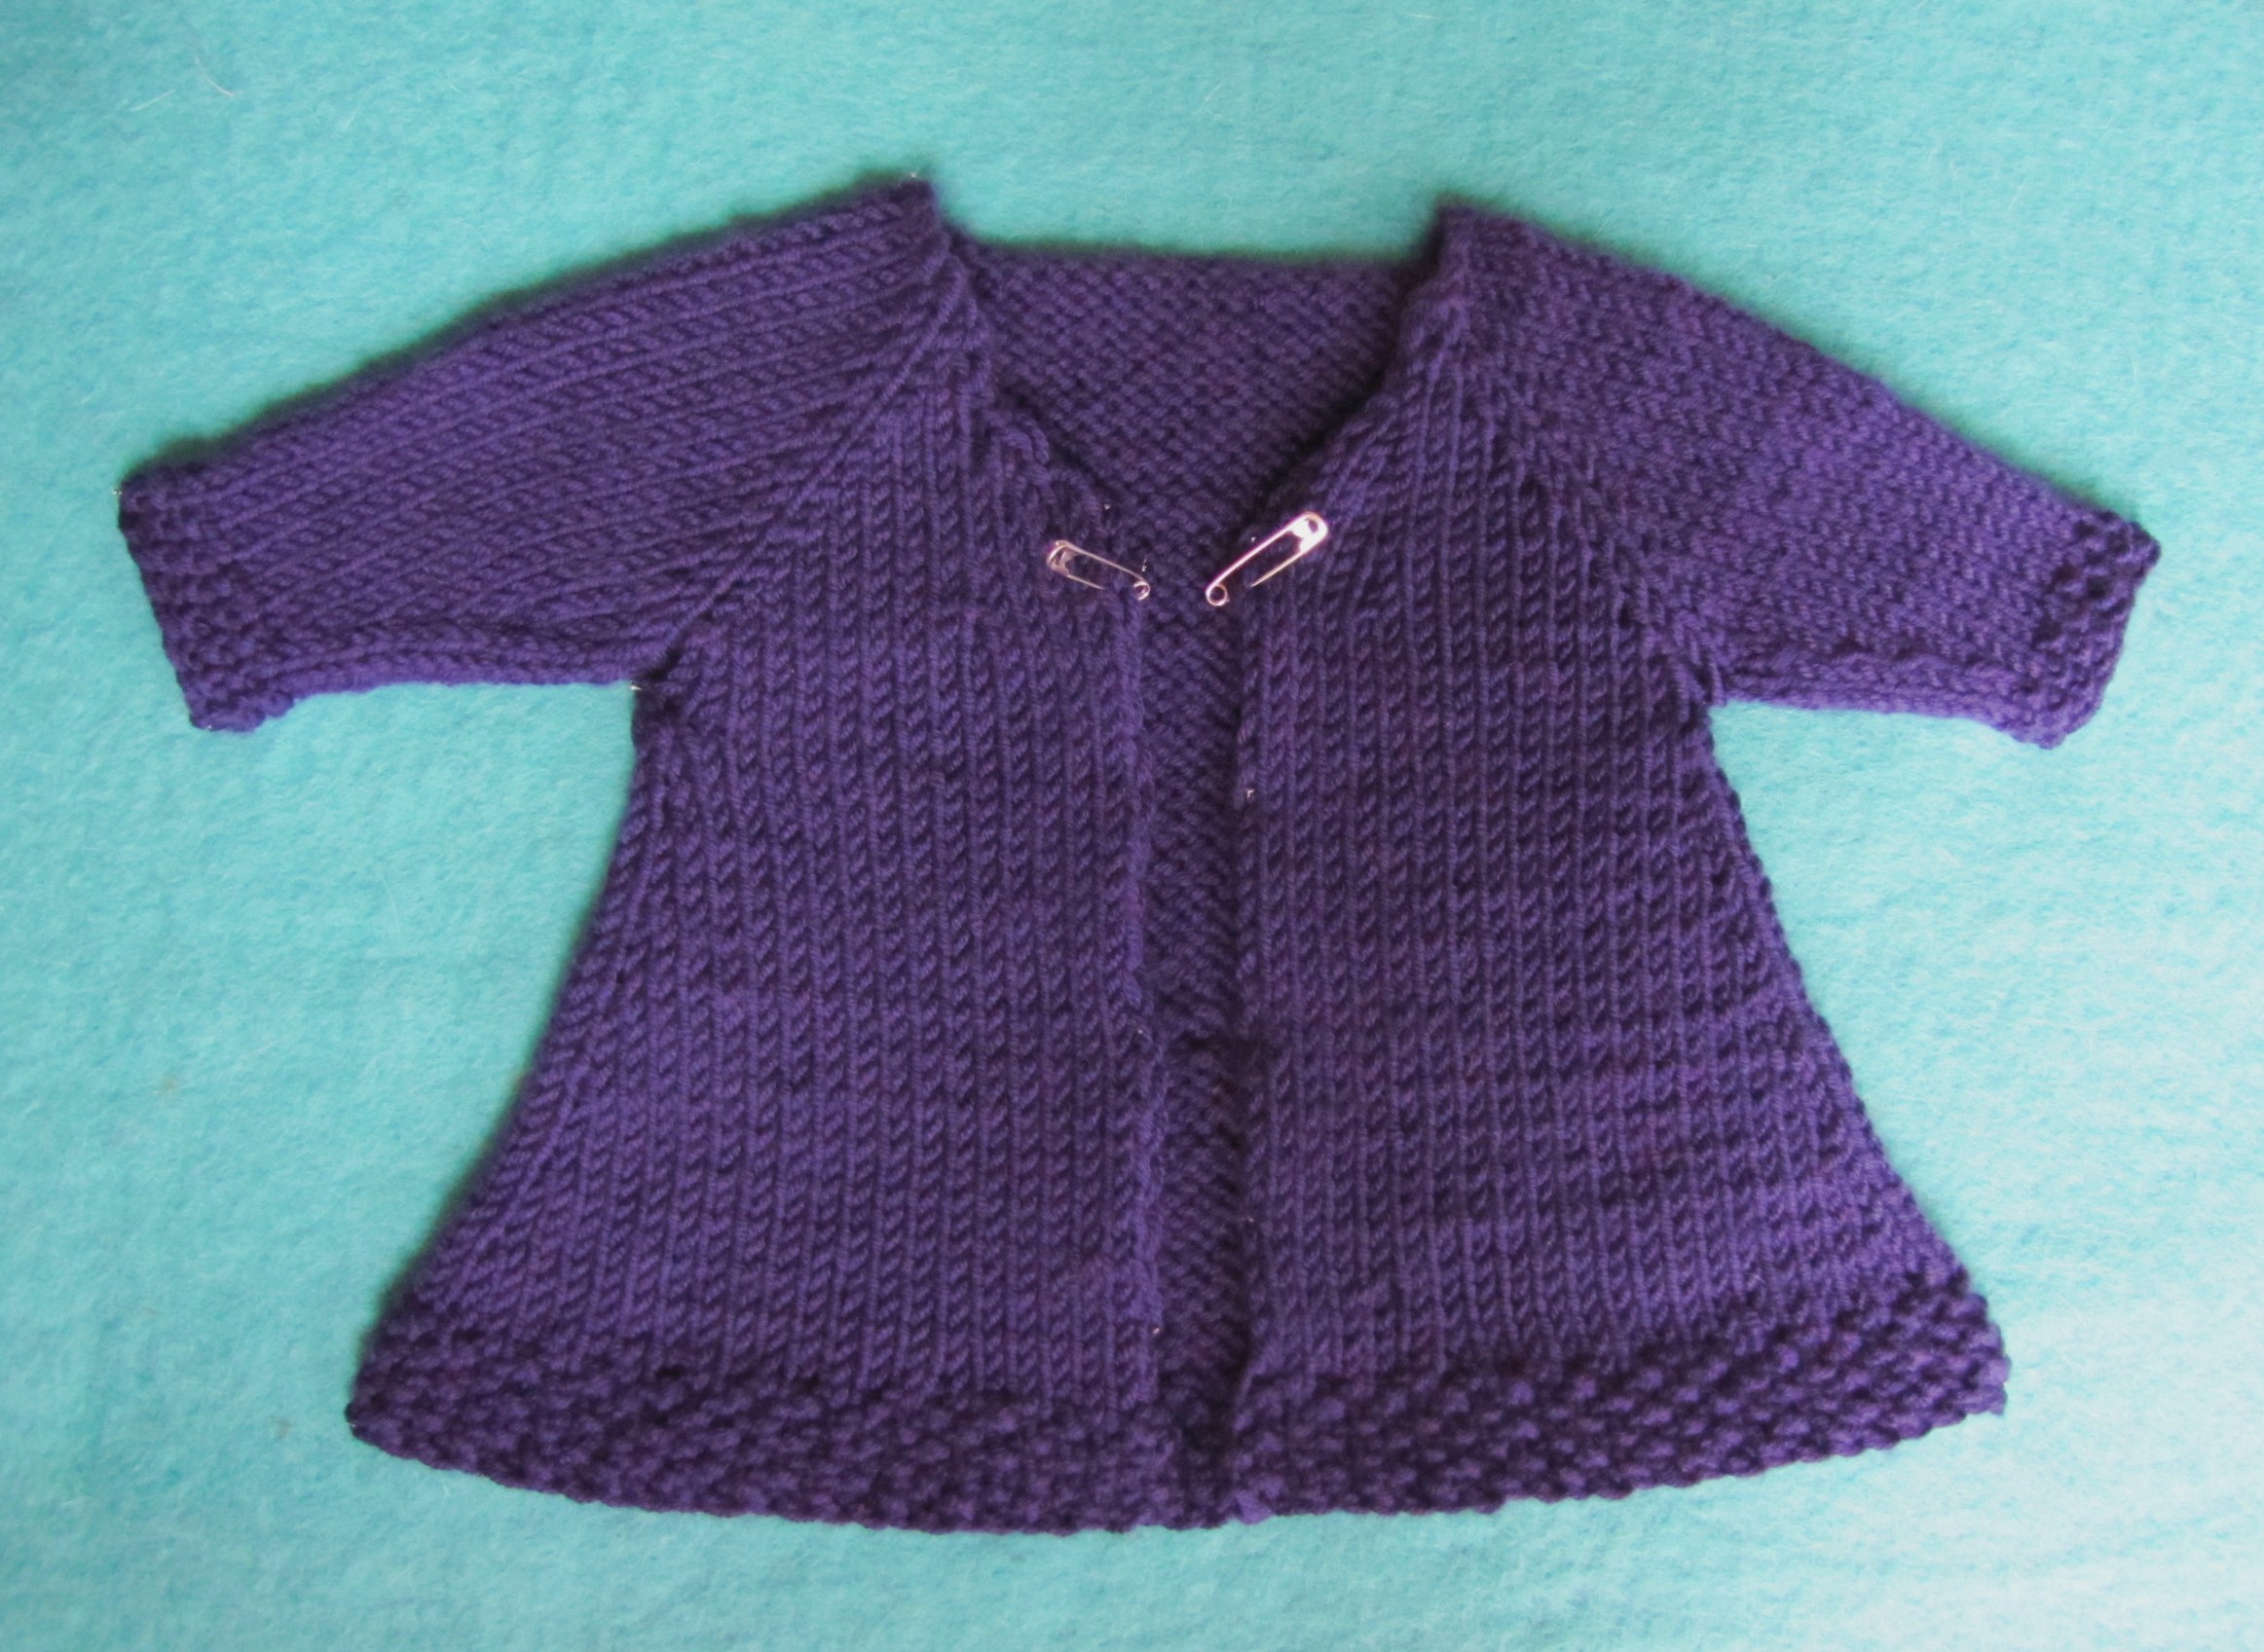
Lesson 6-
Finishing
Time to finish your doll coat! You’ll be knitting up around
the fronts & neckline, then working a seed stitch edging
which includes simple buttonholes.
Watch the Doll Coat Finishing Video to learn how to
pick up & knit stitches all at once as well as some extra
details & tips before you begin.
Doll Coat Pattern
Edges & Finishing
CLICK the image below to download your next pattern & instructions !
.