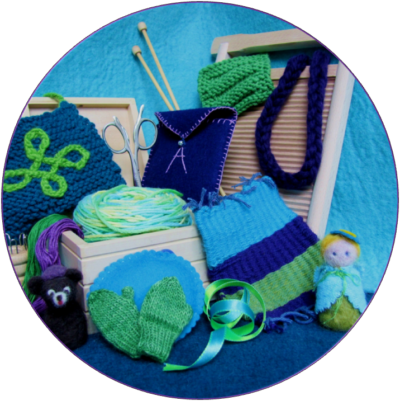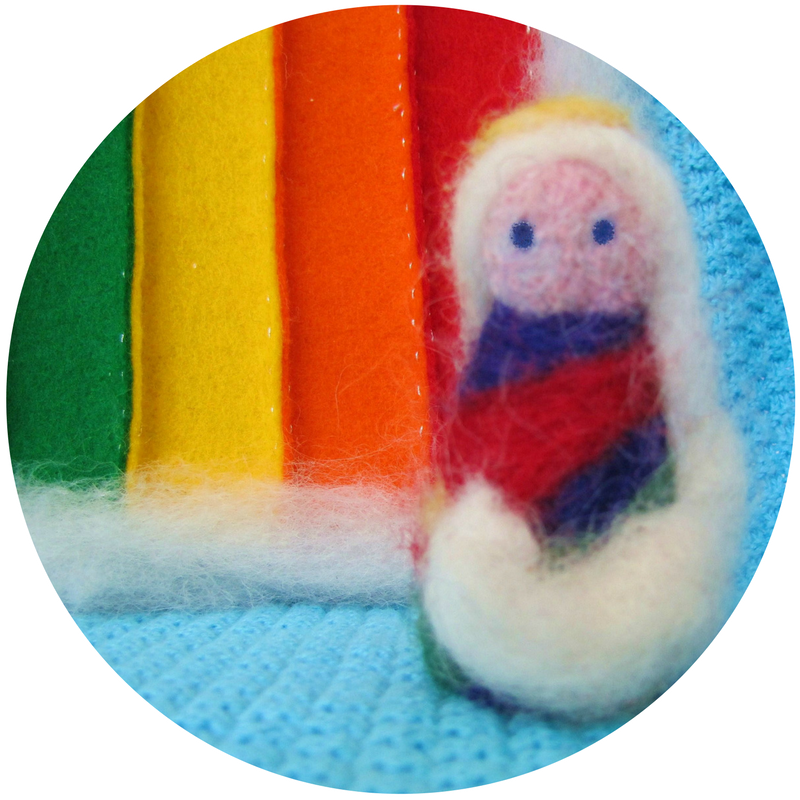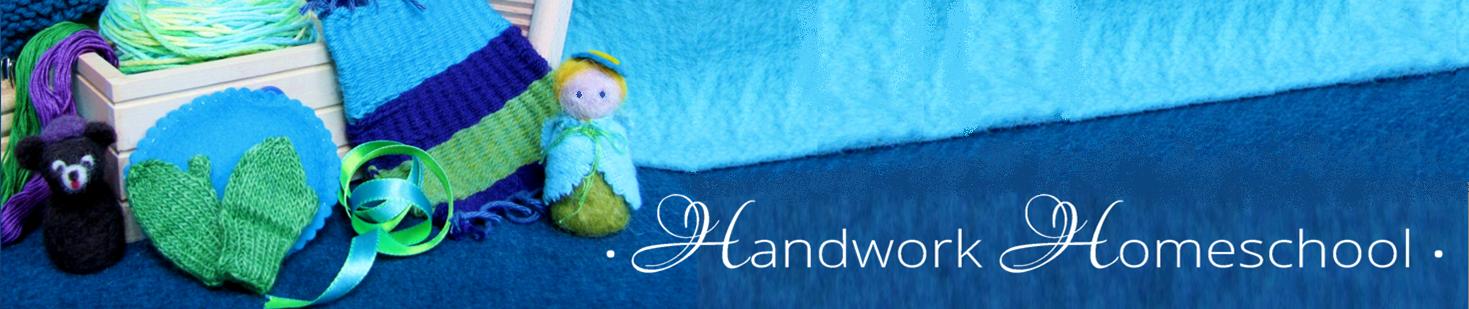
Handwork Resource Library
.
.
WET FELTING
.
Wet Felting
is one of those wonderful fibre arts that truly
allows you to create from the
most basic of materials.
,

,
Working with a little warm water, a bit of soap &
some cuddly, soft rovings you can easily & quickly make something
very pretty & (if you want) useful!
.
1. Benefits
Wet felting might seem to be just a simple fibre art but if you look a little closer you will see several great benefits are hidden within. It can be successfully included in any handwork curriculum as projects may increase in complexity over time.
** TIP ** See the end of this post for a list of age-appropriate projects.
Use a wet felting session to help your child(ren) to:
- cross the midline (hands &/or eyes cross over the body to work on the opposite side ** important as a pre-reading skill among other things **)
- strengthen “handed-ness” by using one hand to steady the work & the other
“dominant” hand to DO the work - tune-up fine motor skills
- explore textures & colours
- enjoy sensory experiences (colours, water, scents)
- learn basic science concepts (bubbles, hot & cold water binding the fibres together)
,
2. Materials & Tools
.
 .
.
- CLEAN, unspun fibres (or rovings) – a little goes a LONG way!
(preferably naturally-dyed) – HERE is a list of suitable fibres that will felt - very warm & very cold tap water
- mild liquid soap
(lavendar scented is good because it smells nice AND helps moth-proof your project) - a plate with an edge or shallow flat bottom bowl for each person
- a pitcher for the warm water
- several medium-sized bowls for the cold water
- cookie cutters (simple shapes are easiest)
- (optional – chopsticks or wooden spoons)
- ** protect your surfaces & floor if you think the children might spill (or do this outside!)
.
3. Technique
Basically, felting is how wool reacts (or other animal-produced fibres) to the combination of soap, alternating hot & cold water & some agitation. The microscopic barbs along the edges of the fibres LOCK when they are felted – shrinking & binding the un-spun fibres together to create shapes.
*** This is a ONE-WAY process, it is pretty-much impossible to “un-felt” felted fibre!
Step 1:
- Take a few wisps of roving & separate them, teasing them gently into a
flat, web-like layer. (You can mix colours here or add more later on.) - Gently layer them into the cookie cutter (2 or 3 layers works well at the beginning).
- Make sure that the layers don’t “peek” out below the cookie cutter.
.
 .
.
Step 2 :
- Squirt some liquid soap onto the rovings (not TOO much !)
- Add a little bit of hot water into the cookie cutter
(an adult or older child should pour the water for very young children).
.
 .
.
Step 3:
- Begin to push & flatten the rovings
(you can use the end of a wooden spoon or a chopstick or your fingers). - Make sure that the rovings cover the entire bottom of the cookie cutter.
.

.
Step 4 :
- After a few minutes (2 or 3 – depending on your fibres),
carefully lift the cookie cutter straight up & pop the shape out onto the plate. - Gently flip it over & put it back in (aligning the shape to the cookie cutter).
,

.
Step 5 :
- Add another layer of roving , feeling around for thin spots.
(This could be another colour.) - Try to make the entire piece roughly the same thickness – especially at the edges.
(This is great for learning to gauge thickness by feel).
.
 .
.
Step 6 :
- When the shape feels like it has started to felt & looks like it has matted together,
pop it out of the cookie cutter & into a bowl of very cold water. - Swirl it around, gently rub it a little & flip it over – repeat a few times.
- When it is completely cold, take it out of the water & put it back into the cookie cutter.
.

.
Step 7 :
- Add another layer of roving & repeat steps 3 – 7 until the shape reaches the desired thickness. (Usually 4 or more layers total.)
- You may have to change the water to keep the warm & cold contrast.
.

.
Step 8 :
- Once you are pleased with your piece, rinse it well in fresh cold water to remove all soap.
- Set the felted pieces to dry on a rack (it may take a few days depending on how thick they are & how dry your house is).
- You can mold the edges while the pieces are wet if you’d like to curl them up a little.
.

Wet-felted flowers ready for
playing, sewing to other projects or gluing to cards.

.
4. Age- Appropriate Projects
Wet felting is a great multi-age fibre art. Everyone can work at their own level at the same time.
Here is a guideline to the types of projects you could bring to various aged children. It is always best if you allow the children to progress through ALL of these projects (no matter how old they are when they are first introduced to wet felting) as they build upon each other. The more the child is able to feel the process, the better they will be able to control it, which means that they will have greater success achieving the desired results.
AGE
Toddler / Pre-schooler (18 mos – 3 yrs )
- As soon as a child has stopped putting non-edible things into their mouths they are ready to start felting!
- Let the child explore & play with the rovings.
- They may felt “blobs” or roll small balls.
.

.
Kindergarten (4 – 6 years)
- Allow the child to continue exploring making free-form objects.
- Introduce this project (cookie cutter shaped pieces) when they are ready to “move on” to something new.
.
 .
.
School age (grade 1 – 3+)
- Explore mixing colours (work with primaries, then secondaries, then tertiaries)
- Wet felt flat pieces to embellish, make into other things or as a base to glue things onto.
.

.
Make Stuff ♥ Be Happy!
.