,\
Welcome !
I’m so glad to have you along for The DOLL Lessons !
Over the next few weeks, you are going to create a wonderful handmade doll, step-by-step & I’ll be here with you all the way.
As the “Waldorf” doll has become more popular over the years, many versions have started to appear such as the baby style, the simple style with a rag body & the “modern” style with brightly coloured hair & more realistic faces. I am going to show you how I make a traditional doll with naturally coloured hair & soft features.
You are free to create whichever style appeals to you.
You can hand-sew your entire doll OR use a machine to sew the body, arms & legs if you wish (make sure you have ball-point needles for your machine!)
It is perfectly acceptable to mix both methods – in fact you have to because the head must be sewn by hand!
How this course works…
There are 6 lessons .
Each will be accessible by clicking on the corresponding circle.
They will be posted every few days for the next 3 weeks – this will give you plenty of time to finish each step before moving on.
If you have questions or are a bit unclear as to what you should do next, just email me & I’ll walk you through it.
.
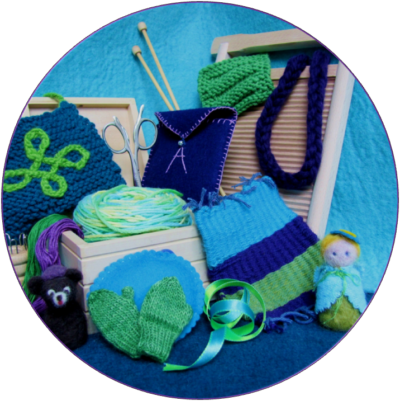
Materials & Tools
When choosing materials for constructing & dressing your doll, pick the most natural, best quality supplies that you can. This will not only make working on the doll easier but make it much more enjoyable to play with!
A carefully constructed doll, made with the right materials, will last for generations.
When buying your materials & tools, start first with a look through your own “stash”, then head off to your local fabric store. Go on a weekday when the more senior staff is working & tell them that you are making a soft fabric doll. They will be able to help you find the materials & tools much quicker than if you were to search around by yourself. Some stores even have frequent buyer discount cards or offer coupons online so check for these before you go.
Of course, you may not live near a good fabric store or your’s might not carry the quality of materials that you want to use & then you’ll have to start looking online. By searching for “Waldorf Doll Supplies” you will find many companies who sell these materials. Some will send you a swatch or sample card if you’re unsure of which colour fabric or yarn you wish to buy (it can be very difficult to see colours accurately on a computer screen).
If you are planning to make more than one doll – you’ll save both time & money by planning them together. You can also save by teaming up with a friend & buying your supplies together. Even if you’re only going to make one doll, remember to save ALL of your scraps as they may come in handy for making a tiny doll later on or another toy.
Here is the list of materials & tools that you will need to make your Waldorf-style doll during The DOLL Lessons.
If you sew (even a little bit) you might have many (or all) of the tools on hand already. If not, they are all fairly inexpensive & worth having in your handwork stash.
You should also have received a Shopping List via email, which you can print out (see below) & make notes on when planning your doll. Obviously, you won’t use up all of the supplies for one doll but it is always better to buy a little bit more than you think you might need than run out of something right in the middle of your project!
I have suggested some name brands – you do not have to use these but they are well suited for this project.
The cost difference between “no-name” supplies & these are negligible & well worth the small added expense. When you are planning to invest your time, love & patience to make your doll – it only makes sense to use the best quality materials that you can afford, to create a doll that will last for years.
.
Supplies List for a
32 cm/12″
Waldorf-Style Doll

THREADS
- SHAPING HEAD & FACE – 1 spool
– very strong thread or very light cord
– 100% cotton or linen (nice but not necessary)
– sometimes called “buttonhole” or “top-stitching” thread
– colour to match skin tone (or lighter)
– unwaxed dental floss can be used
- SEWING HEAD & BODY – 1 spool or 1 skein of floss
– strong sewing ( or quilting) thread to match skin tone
– Gutermann 100% polyester thread or DMC cotton embroidery floss
- HAIR – 1 spool
– sewing thread to match hair colour
- EYES & MOUTH – 1 skein for eyes & 1 for mouth – embroidery floss
– choose soft colours
– DMC 100% cotton embroidery floss ( I recommended this because it is inexpensive, very high quality, colour fast, Egyptian cotton, double mercerized = high sheen)
Fabric
NOTE: The quality of the fabric which you use to construct your doll is VERY important!
Choose 100% cotton top quality interlock (jersey) knit with a medium stretch. This will reduce the possibilities of your doll’s skin stretching, fading, pilling or ripping & ensure that it lasts for years.
OPTIONAL – choose Oeko-Tek Standard 100 – organic cotton
- HEAD & SHOULDERS (INNER LINER)
– thin cotton jersey (natural colour) – 30x30cm (12×12”)
OR
– tubular cotton gauze – 100% cotton – very stretchy – 1m long x 4 cm wide
- SKIN – thicker cotton jersey – 50 cm / ½ yard
– in your preferred skin tone
Stuffing
- ROVING – washed & combed ( approx. 5cm diameter) – 1.5 m/1.5 yds
– choose only soft, washed, unbleached wool – organic if possible
- BATTING – approx. 500 g/ 1 lb. – clean, carded wool – organic if possible
OPTIONAL – If you prefer NOT to stuff the doll with wool, you can look for cotton, hemp or even bamboo fibres online.
Yarn for Hair
The yarn you choose depends on the hairstyle you are hoping to achieve.
You can use wool, or a blend with mohair or alpaca.
Cotton or cotton blends will give the doll more of a rag-doll look.
For more realistic colouring, pick a variegated yarn or buy two different colours. Hand-dyed yarns look very nice.
You can also mix a smooth yarn with a mohair or boucle to add texture.
For all styles you will need a total of at least 100g of yarn (usually 2 balls). (If you are planning a VERY short hairstyle you might be able to get away with only 50g but it’s hard to know, so you’d be better to buy the extra ball, just in case.)
Some yarn suggestions :
For straight hair that can be styled (braids, loose, pony tail, pig tails) or boyish cuts
– Debbie Bliss – Baby Cashmerino – sport weight
– Debbie Bliss – Rialto Lace – 100% extra fine Merino Wool
– Malabrigo – SOCK – 4 ply – 100 % superwash Merino Wool
– Ella Rae – Lace Merino Solids – 100% Merino Wool Laceweight
– any handspun single ply
For curly hair
– mohair bouclé (with little loops)
– curly hair – ringlets – can be homemade
For fuzzy/fluffy hair
– brushed mohair or mohair/wool blend –worsted weight
You should have received a Materials & Tools List by email. If you didn’t please let me know!
A Short Introduction to
Waldorf Dolls
.
Before we begin actually working on our dolls, I want to take a few moments to discuss what makes them unusual in our modern world & what will make them so special.
A bit of history…
Dolls, since they were first made many millennia ago, have been regarded as images of ourselves.
They have been enjoyed by both adults & children. Playing with a doll is a lovely way for a child to practice caring for others, reflect on their daily experiences & learn how to give (& receive) love.
Soft fabric dolls have been made for centuries, often from scraps leftover from dressmaking or other household fabric projects. Sometimes, pieces were salvaged from old clothes or linens that were no longer in good enough repair to be kept in daily use.
A doll takes only a little bit of fabric.
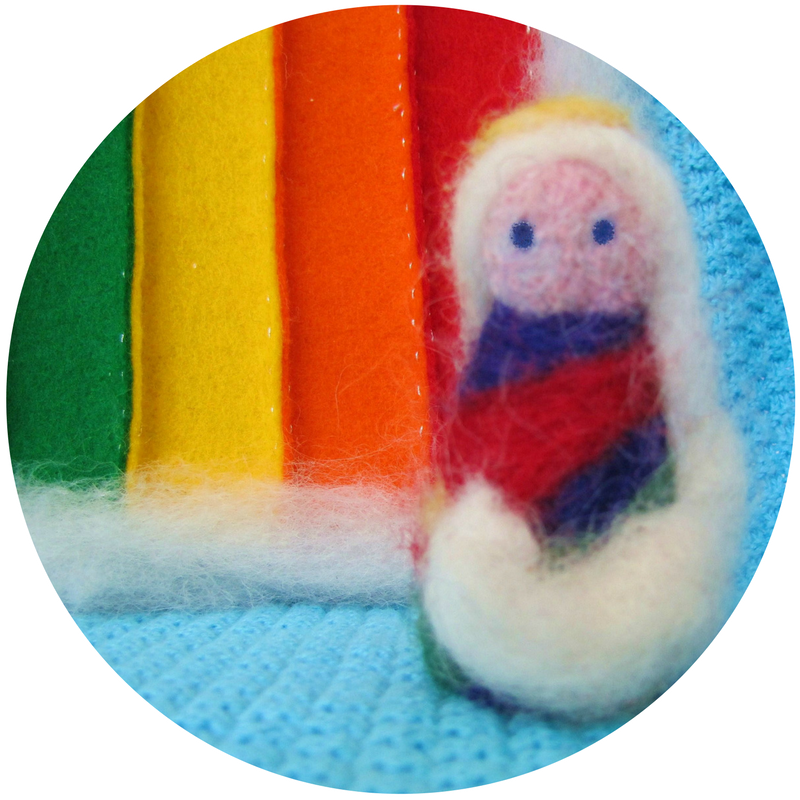
The story of the “Waldorf” doll is linked with the early Waldorf schools, which were created & established by Rudolf Steiner in Germany at the beginning of the 20th century. Some say that the first dolls were created by Kathe Kruse. Over the last century, this type of doll has become one of the most widely recognized hallmarks of the Waldorf educational movement.
Steiner believed that children should play with simple, natural toys. He felt that a child would be stimulated to use their imagination if playthings did not have elaborate details. This is why the traditional waldorf doll has a neutral facial expression. The doll can “feel” any emotion that the child wishes it to – perhaps to mirror their own or to advance a storyline that they are creating during their play. The natural materials are warm, smell good, nice to hold & are non-toxic.
Today, these attributes are hard to find in most mass-produced dolls!
Making your doll special…
Embarking on a handwork project such as this, when there are SO many examples out there for you to compare your work to, can be a bit daunting. It’s sort of like trying to paint a portrait of a friend or family member. You feel that the finished piece has to resemble them otherwise it’s not a success.
I want you to know that the doll you make will be perfect in the eyes of the child you give it to – AS LONG AS you simply present it to them. Just like that – no long commentary on how many hours it took to make, or how you wanted to sew the hair on differently… They won’t need to know those details – they only need to know that you loved them enough to make something for them.
If you want to perfect your technique you can always make another doll.
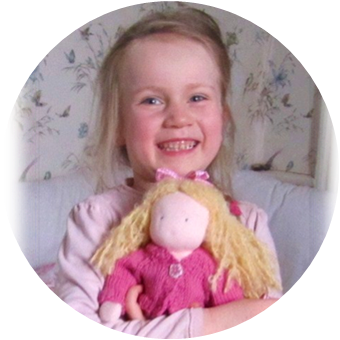
Before you begin to make your doll – you must decide whether or not you want to make the doll LOOK like your child.
Many believe that when playing with a doll that looks like themselves, (ie. a child doll not a teenager or adult) the child feels a stronger feeling of connection & is more able to include them in their daily lives.
Personally, I feel that making a doll that looked like my daughter was the main reason why I decided to do it in the first place. Obviously, you won’t want to make a whole group of dolls that all look the same, but you might consider making your first with your child’s skin tone as well as hair & eye colour.
Later on, you can add to the “family”!
If you would like to add another level of even deeper meaning to your doll, you might consider using a piece of fabric that has some family “history” when it comes time to dress your doll or even unravel an old sweater to make the hair. My children know that fabric can carry stories & always want to know the origin of the various textile pieces I use for toys & other projects. The amazing thing is – they never forget what I tell them!