
.
Lesson 6
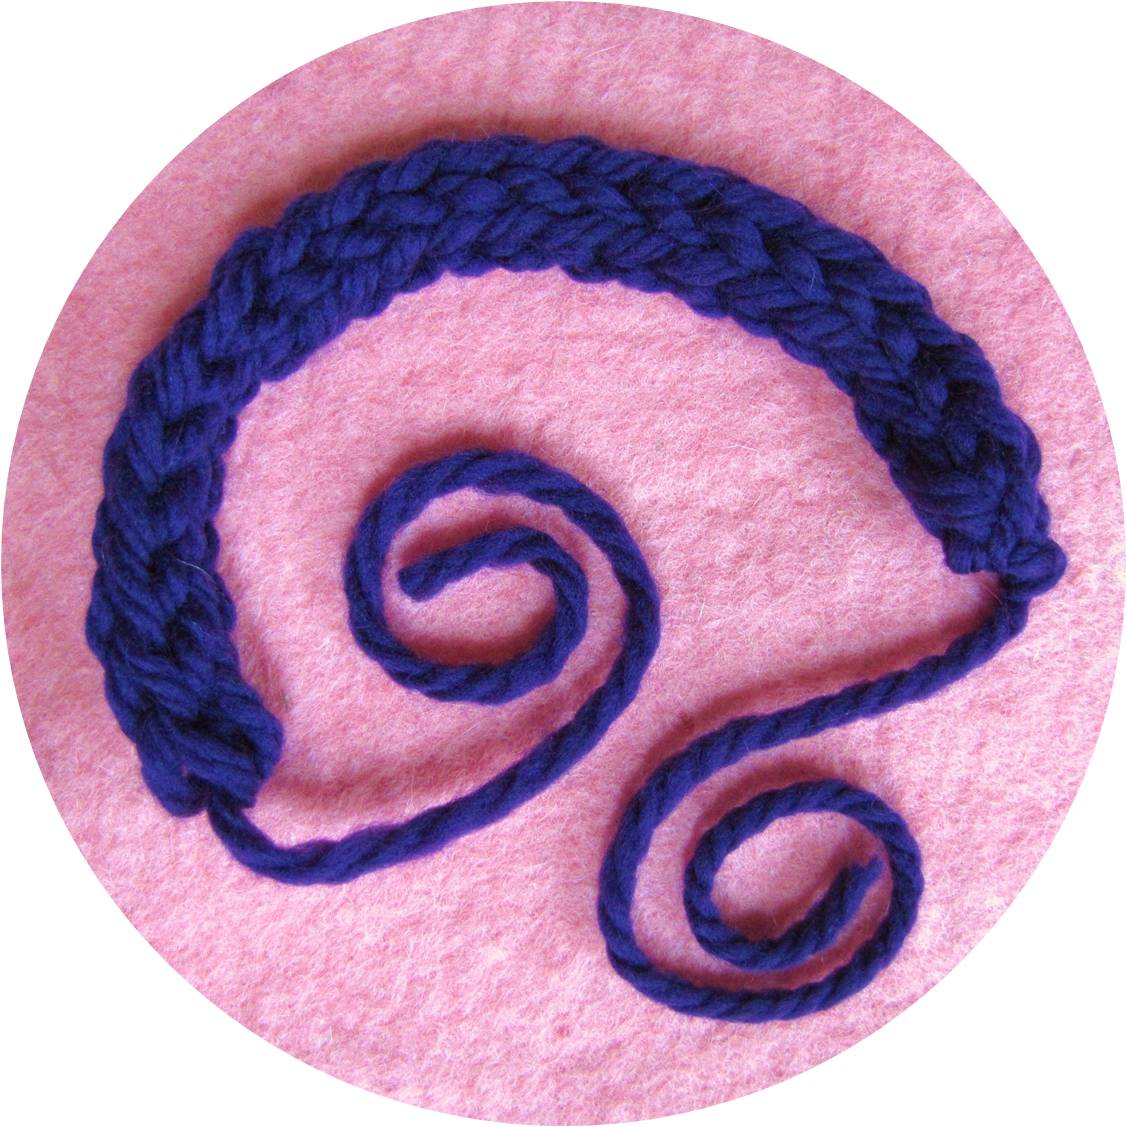
The more you try fingerknitting, the more you can see how much you can actually do with just some yarn & your fingers.
This lesson will introduce you to 4 new ways to fingerknit (a couple of which I have never seen anywhere else – so they may just be my own inventions!) There are definitely more advanced than those demonstrated in Lesson 5.
Make sure you practice them yourself BEFORE you try to teach them to your child.
If you’re using the yarn from Cedar Ring Circle, use the bulky yarns. If not, then use a smooth, bulky/chunky/aran weight yarn for these techniques. The stitches will be big but it makes it easier to see them – always a good thing when you &/or your child is learning!
Lesson 6.1 will show you how to use 2 fingers while fingerknitting.
Lesson 6.2 takes fingerknitting one step farther by involving all 4 fingers.
Lesson 6.3 adds another colour to your 2 finger fingerknitting.
Lesson 6.4 elevates fingerknitting to another whole level by combining 2 colours AND 4 fingers!
Lesson 6.1
2 Finger
Fingerknitting
This type of fingerknitting builds on the “straight finger” style shown in
Lesson 5. It is easier than it looks once you get used to co-ordinating the
various moves.
Practice until you can produce a nice, smooth, even double-sided strand
of work – it will look like 2 rows of knitting back to back – which is basically
just what it is! If you’ve kept your tension even – then both sides should
look identical.
Lesson 6.2
Whole Hand
Fingerknitting
This technique can be called “Whole Hand” or ” 4 Finger” Fingerknitting.
Either way, it is a bit more difficult to master than the 2 finger version – but
well worth trying!
The key to neat & tidy stitches is to keep your fingers fairly close together.
The farther apart you hold them as you wind the yarn, the bigger the stitches.
Tension is important because you are dealing with fingers of different sizes –
if you think about it – both knitting needles are the SAME size – of course,
your fingers aren’t! So pull the stitches on your index finger a little tighter
than on your pinky to help keep everything even.
At first, your work may look quite untidy but with a bit of practice you
can create a lovely piece of work which looks just like a 4 stitch wide
piece of stockinette knitting!
Lesson 6.3
Two Colour
Fingerknitting
This technique opens up a whole new world of possibilities for fingerknitting.
By adding in a second colour, the work is a bit more challenging & looks
completely different.
Remember, if you use yarns of different weights you’ll have to work a bit harder to
maintain an even tension.
After a few minutes, you’ll get it & away you’ll go!
Lesson 6.4
Two Colour Advanced
Fingerknitting
Using all 4 fingers AND 2 colours makes this fingerknitting the most
advanced form yet! I’ve never seen this anywhere, so I MAY have
“unvented” it (as Elizabeth Zimmermann would say!)
Make sure that you’ve got the other techniques firmly embedded
in your mind (& hands) before tackling this one. Don’t get bogged down
trying to figure out how to do it by just watching the video…. get out some
yarn & try it – then it will make sense to you much more quickly.
You might like to introduce this to your older children who think that
they’ve outgrown fingerknitting.
One TIP : once you’ve woven the two colours through your fingers from the
index to the pinky – make SURE that you twist the two colours around
each other before heading back to the index finger. If you miss this move,
you’ll actually only be knitting across 3 fingers because the second colour
won’t have been drawn to the end of the “row”.
Try it & you’ll see what I mean!