.

.
.
Making Memories
This lesson will show you how to record handwork projects
– so you can remember what you did,
so your children can enjoy their work & if you have to
– so you can show a homeschool inspector
the scope & academic value of your handwork curriculum.
Q & A
– Lesson 6
.
As you know, Lesson 6 was a BIGGIE !
I tried & tried to think of what I could leave out but then I thought that I’d give it all to you & let YOU decide which parts you wanted!
I’ve had quite a bit of feedback about this lesson, mainly questions about the “what” & “when” of the projects.
.
When would be a good time to start the
FIRST project with my child?
.
There are a couple of answers for this one.
Scenario 1 – Grade One Child
If you are following Waldorf indications, then you’ll be starting TRUE Handwork Lessons in Grade One. Much has been written about how to begin this grade as it is the child’s first introduction to academics. Most of the time, it is suggested that you begin the year with a Main Lesson block ( 3-4 weeks) devoted to Form Drawing.
I believe that Handwork & Form Drawing go very well together & so I would suggest you pair them in that first block.
HOWEVER….
It would be best if you simply allowed your child to explore & play with handwork materials for the first week (while you are in the INTRO stages of teaching Form Drawing – remember you don’t want to overwhelm them with too much new information).
Once you feel that they’ve gotten the basic idea of Form Drawing (or whatever else you may have chosen to teach at that time), THEN you can start the first Handwork INTRO lessons.
If you continue on to do an entire month-long Form Drawing / Handwork block, your child should be well in the PRACTICE stage of knitting once it’s completed.
.
What should the FIRST project be?
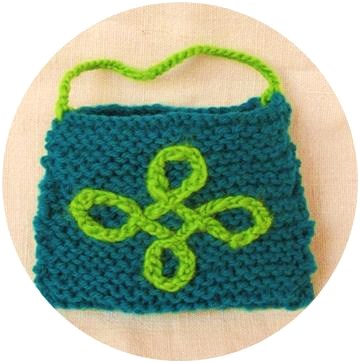
As soon as you feel that they are ready to move into the PRACTICE stage of knitting, you can bring a simple project to them. I really think it should be something for them, preferably something that they can wear – a scarf, little pouch, simple rectangular hat.
It should be in wool (that is the easiest but if it doesn’t work for you then choose a good-quality mercerized cotton – this will cut down on unraveling & will have some spring in it, similar to wool). Let them pick a colour that they LOVE.
Try to have the child work on it regularly, every day for a few minutes or at least every other day. Their bodies need to “learn” the moves while their heads need to learn to want to knit.
If you think back to Lesson 1, we learned that various hormones & neurotransmitters are released when you do handwork – you can get a “high” from knitting just as much from running or other physical activities. (This is one of those things that no one mentions – you can get used to the good feelings that flood through you when you “make” & start to anticipate them!)
Scenario 2 – Older Child (Grade 2 or older)
If you’ve covered most of the Grade 1 skills (& your child is able to do them easily) then it’s time to move on! I would suggest that you challenge them a little at the beginning of the year.
Give them something to “sink their teeth into”.
Now would be a good time for them to make a more complicated project with simple shaping (increases & decreases)– perhaps a stuffed animal from one of Aesop’s fables?
Keep it small so the technique is challenging but it doesn’t take forever to complete!
The child will have many other new things to absorb at the beginning of the year so the project should feature just enough new combined with a lot of plain (meditative) & familiar knitting. (Don’t forget that this kind of knitting is perfect for them to do while you read out loud).
.
Another question from Lesson 6 was :
What type of Year-Long project can I plan that can include
my grade-school & pre-school children
as well as my husband?
.
Now this is my kind of project – a family one!
** Extra points for getting your husband involved !!! **
First, think of what your family likes – farms & the countryside, buildings & cities, the beach & ocean, gardening?
The Year-Long or Build-Upon project includes creating an “environment” or base. It can be sewn, knit, crocheted or even painted on wood or canvas. You could also make a free-standing doll-house or construction site or faery village ….
You’ll need to make props (buildings, rocks, trees, mountains, “water”, snow) as well as animals & people & accessories. Make these in whatever order suits you. You’ll find that the children start suggesting things as you go along – this project will morph over time!
Combine handwork, natural found items (stones, pinecones, shells) & handcraft (hard materials = wax, wood, clay) for added fun!
The main goal is to include things that everyone can make & play with.
Lesson 7.1
Handwork Memories
.
We’ve arrived at our last lesson. I hope you’ve enjoyed the trip!
Like any other trip, it’s nice to remember what you did along the way.
.
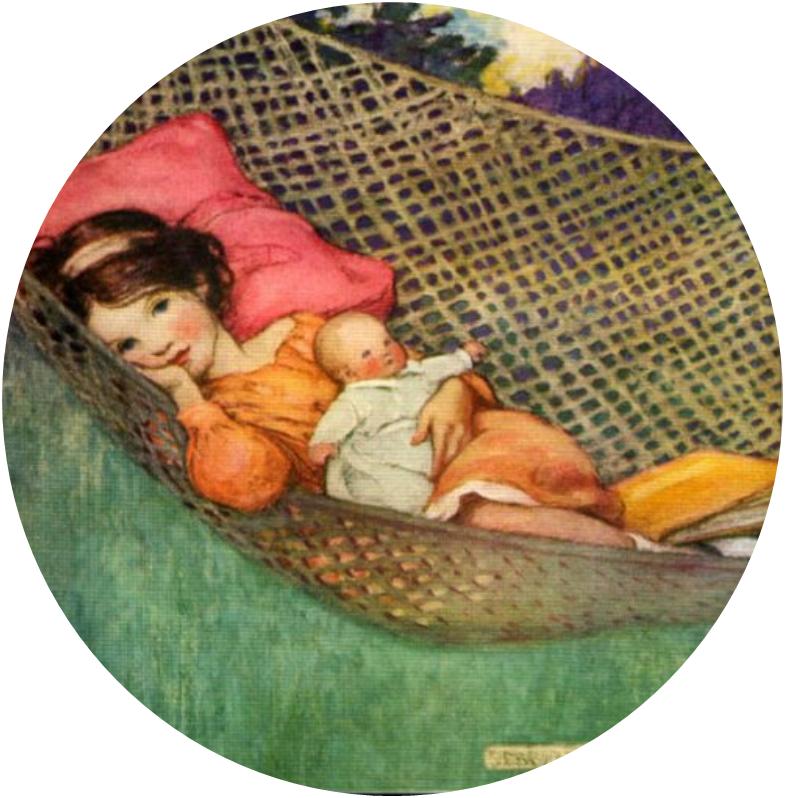
CLICK on the little girl & her dolly to enter Lesson 7.
.
..
Bonus
Here’s a BONUS for you !
A wonderful story you can use to inspire boys (& girls!) when teaching them how to knit.
.
One last activity – some FEEDBACK.
I’ve included it because it is important for two reasons:
1 – so that you’ll take a moment & look back over the course – I think you’ll be amazed at what you’ve learned!
2 – so I can get some good feedback which will help me tweak the course & make the next version I offer even better!
.
Please answer these questions & EMAIL them back to me.
- What surprised you during The MAKING Lessons?
- What interested you the most?
- Which lesson was your favourite? Why ?
- Is there anything I could add to improve the course?
***
Thank you very much for being such a great student
– I hope that I’ve inspired you as much as you’ve inspired me!
.
Happy Making!

One More Little Treat for You…
Before I go, I thought I’d add in a few handwork verses for you as a little extra.
HERE are some that I’ve gathered over the years.
(There are many online to choose from but I prefer those that don’t make handwork sound like a chore!)
***